The Best Yumblink Pancakes recipe you will fall in love with. Full of tips and tricks to help you make the best pancakes.


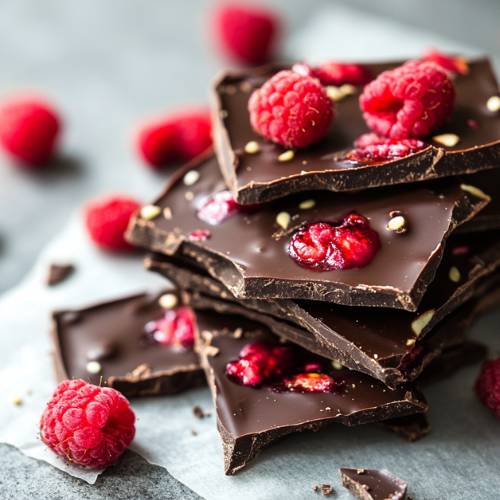
There’s something so satisfying about the mix of juicy berries and rich dark chocolate. It’s sweet, a little tart, and has just the right amount of crunch from the toppings. This Raspberry Chocolate Bark is one of those treats that looks fancy but is secretly so simple to make. I first tried it after seeing a version from @fuelwithrae, and I’ve been hooked ever since. It’s the kind of dessert you can whip up in minutes, freeze, and sneak a piece of whenever that chocolate craving hits.
Method
1. Melt the Chocolate
Start by placing your dark chocolate chips or gems into a microwave-safe bowl. Microwave them in short bursts about 20 to 30 seconds at a time. After each interval, stir the chocolate well. This helps it melt evenly and prevents burning. Keep repeating this process until the chocolate is fully melted and smooth. If you prefer using a stovetop, you can melt the chocolate using a double boiler. Just make sure the water underneath doesn’t touch the bottom of the bowl, and stir the chocolate constantly until it’s glossy and lump-free.
2. Shape the Bark
While the chocolate is melting, prepare your base. Line a baking tray with parchment paper to keep the bark from sticking. Then, take your raspberries and gently place them onto the tray, arranging them into a loose rectangular shape. Try to group them fairly close together so they’ll hold better once the chocolate is poured. You don’t have to make the shape perfect just make sure the berries are touching enough to form a solid bark once set.
3. Pour the Chocolate
Once your chocolate is fully melted and silky, slowly pour it over the raspberries. Try to drizzle it evenly across the top, allowing the chocolate to fall between the berries and coat them well. Use a rubber spatula or spoon to gently spread the chocolate over any areas that need more coverage. You want most of the raspberries to be either fully or partially covered so they stay in place when frozen.
4. Add the Toppings
Now comes the fun part toppings. While the chocolate is still melted, sprinkle on your favorite extras. I love using coconut flakes for texture, rainbow sprinkles for a pop of color, and flaky sea salt to balance out the sweetness. Feel free to get creative here chopped nuts, freeze-dried berries, or mini chocolate chips all work beautifully. Just be sure to add everything before the chocolate starts to set.
5. Freeze the Bark
Carefully place the entire tray into your freezer. Lay it flat to make sure the chocolate sets evenly. Let it freeze for at least 2 hours, or until the bark is completely solid. You can check it by gently pressing one of the edges if it doesn’t budge, it’s ready to go.
6. Break and Store
Once frozen, take the tray out and lift the parchment paper to remove the bark. Break it into small pieces using your hands or a sharp knife. Try not to make the pieces too thick, or they’ll be hard to bite into straight from the freezer. Store the bark in an airtight container and keep it in the freezer. Before eating, let it sit out for a few minutes to soften slightly it’ll be much easier to enjoy and full of flavor.
Necessary Tools
- Microwave-safe bowl (or double boiler)
- Rubber spatula or spoon
- Baking tray
- Parchment paper
- Freezer
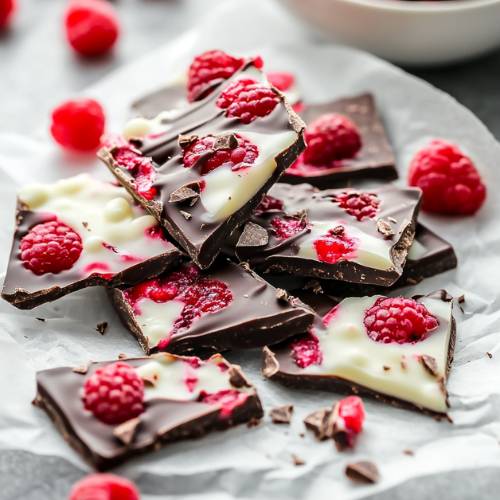
Raspberry Chocolate Bark
Cuisine: AmericanDifficulty: EasyServings
10
servingsPrep time
10
minutesCooking timeminutes
Total time
10
minutesIngredients
6 oz fresh raspberries
1/2 cup dark chocolate chips or gems (I used Hu Kitchen dark chocolate gems)
Toppings of your choice (I used sprinkles, coconut flakes, and flaky sea salt)
Directions
- Melt the Chocolate. Add your dark chocolate chips to a microwave-safe bowl. Heat in 20–30 second intervals, stirring each time until the chocolate is fully melted and smooth. You can also use a double boiler if you prefer.
- Shape the Bark. Line a baking tray with parchment paper. Spread your raspberries out into a loose rectangle shape on the paper. Keep them close together so the chocolate will hold them all together later.
- Pour the Chocolate. Gently pour the melted chocolate over the raspberries, making sure to cover most of the berries. Use a spoon or spatula to help spread if needed.
- Add the Toppings: Sprinkle on your favorite toppings. I went with coconut flakes, rainbow sprinkles, and a little flaky sea salt for that sweet and salty bite.
- Freeze. Place the tray into the freezer and let it set for at least 2 hours or until the bark is firm.
- Break and Store. Once fully set, break the bark into pieces and store them in an airtight container in the freezer. Let it thaw a bit before eating so you don’t chip a tooth.
Notes
- Make sure the raspberries are dry before using, or the chocolate might not stick well.
- Don’t overheat the chocolate or it could seize up and get clumpy.
- Spread the chocolate quickly before it starts to set, especially if your kitchen is chilly.
- Freeze it flat so it sets evenly don’t tilt the tray or everything will slide.
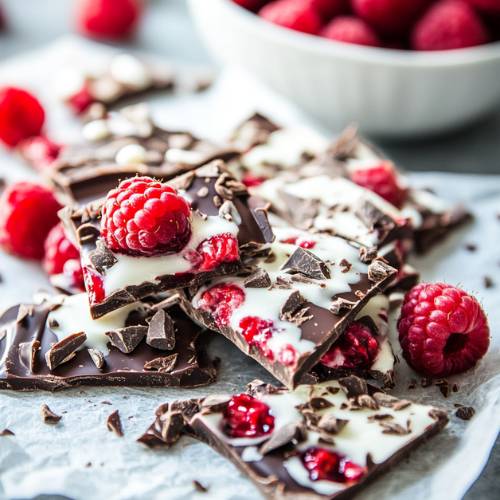
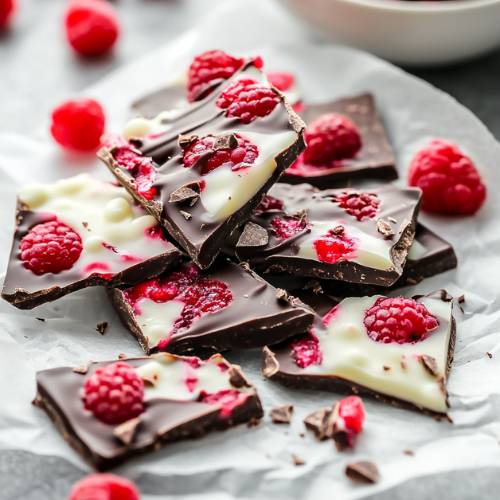
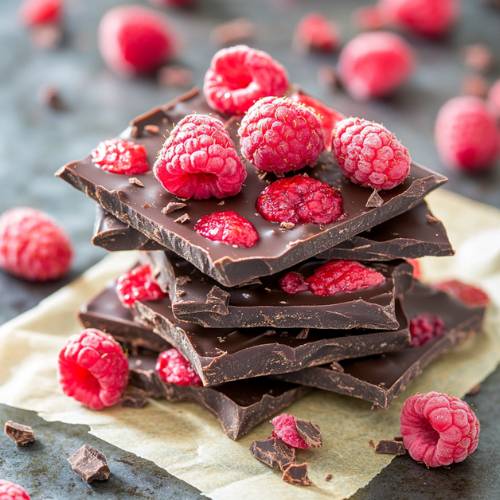
Serving Suggestions
- Serve on a dessert board alongside nuts, dried fruits, and more chocolate.
- Add it as a sweet snack in lunchboxes (just keep it cold).
- Crumble over ice cream for a quick fancy upgrade.
- Wrap a few pieces in parchment and give as little homemade gifts.
Fun Fact
Raspberries and chocolate have been paired together for centuries in desserts across Europe. Their flavor balance is considered one of the best natural combos like peanut butter and jelly but way fancier.
Conclusion
This Raspberry Chocolate Bark is one of my favorite go-to treats when I want something pretty, delicious, and ridiculously easy. It’s perfect for holidays, weeknight desserts, or just because you have extra berries on hand. Every bite gives you that rich chocolate and juicy berry burst and with the toppings, it feels a little magical. Give it a try and let me know what toppings you end up using!