The Best Yumblink Pancakes recipe you will fall in love with. Full of tips and tricks to help you make the best pancakes.


Some desserts just make you feel the love and these heart-shaped chocolate cakes do exactly that! They’re soft, chocolatey, and so fun to make, especially for Valentine’s Day (or any day you want a little sweetness). I used a heart-shaped silicone mold to make three cute little cakes, but you can use any mold you have on hand. The best part? You don’t need any fancy ingredients, and it all comes together in one bowl.
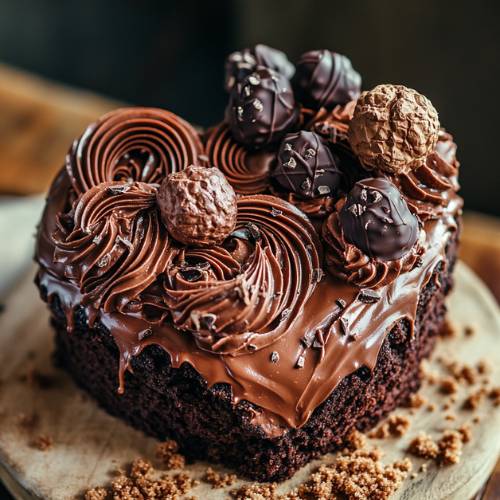
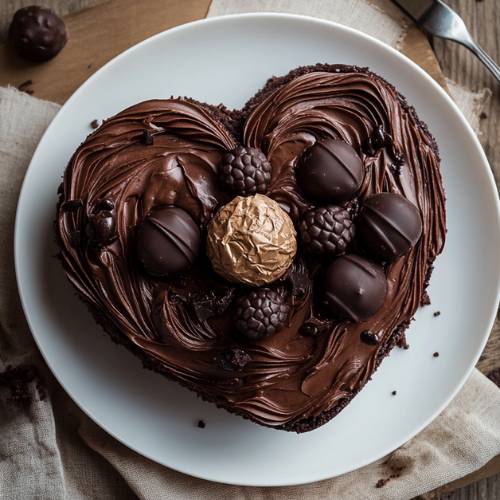
These mini cakes are rich, moist, and super adorable. Topped with powdered sugar, melted chocolate, and little strawberry hearts? Yes, please.
Method
1. Preheat the Oven
Start by preheating your oven to 350°F (175°C). This gives the oven plenty of time to reach the right temperature while you mix the batter. Using the correct temperature is key to getting that soft, moist texture in your mini chocolate cakes.
2. Mix the Wet Ingredients
In a medium mixing bowl, add 2 tablespoons of melted butter (or coconut oil), ¼ cup of milk (any kind you like), 1 egg, and 1 teaspoon of vanilla bean paste. Use a whisk or spoon to mix these ingredients together until smooth. The melted butter helps make the cakes rich, while the vanilla adds a lovely depth of flavor.
3. Add the Dry Ingredients
Now it’s time to build the chocolatey base! To your wet mixture, add ¼ cup gluten-free flour (or all-purpose flour), 2 tablespoons of cocoa powder, ¼ cup coconut sugar, ½ teaspoon baking powder, ¼ teaspoon baking soda, and a pinch of salt. Gently stir everything together until the batter is smooth and well blended. Try not to overmix stop as soon as the batter looks even and chocolatey.
4. Fill the Molds
Grab your heart-shaped silicone cake molds and lightly grease them if needed (some silicone molds don’t require this, but better safe than sorry!). Pour the batter evenly into the molds, filling each one about ¾ of the way full. This gives them room to rise while baking without overflowing.
5. Bake the Cakes
Place the molds on a baking sheet for easy handling, then pop them into the preheated oven. Bake for about 20 minutes. To check if they’re done, insert a toothpick into the center of one cake if it comes out clean or with a few crumbs (but no wet batter), they’re ready.
6. Cool and Decorate
Once the cakes are done baking, take them out of the oven and let them cool in the molds for about 5 minutes. Then gently pop them out and place them on a wire rack or plate to cool a little more. While they’re still slightly warm (but not hot), sprinkle them with powdered sugar, drizzle melted chocolate over the top, and add fresh strawberry hearts for a sweet and festive finish.
Necessary Tools
- Mixing bowl
- Whisk or spoon
- Heart-shaped silicone cake molds (or any mini molds you like)
- Measuring spoons and cups
- Oven
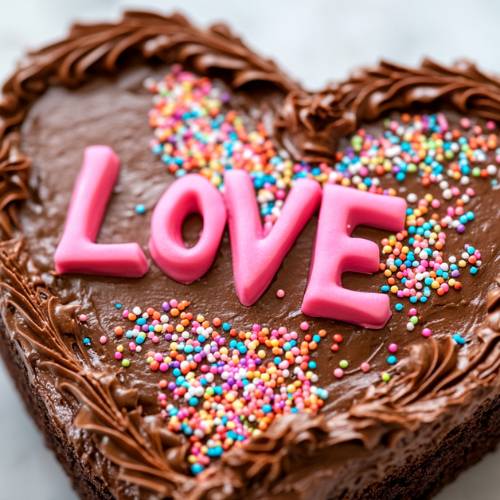
Heart Shaped Chocolate Cakes
Cuisine: AmericanDifficulty: EasyServings
3
servingsPrep time
5
minutesCooking time
20
minutesTotal time
1
hour10
minutesIngredients
2 tablespoons melted butter (or coconut oil)
¼ cup milk of choice
1 egg
1 teaspoon vanilla bean paste
¼ cup gluten-free flour (or all-purpose flour)
2 tablespoons cocoa powder
¼ cup coconut sugar
½ teaspoon baking powder
¼ teaspoon baking soda
Pinch of salt
Toppings: powdered sugar, melted chocolate, fresh strawberries (cut into heart shapes!)
Directions
- Preheat your oven to 350°F (175°C).
- In a bowl, mix together the melted butter, milk, egg, and vanilla bean paste.
- Add in the flour, cocoa powder, coconut sugar, baking powder, baking soda, and a pinch of salt. Stir until everything is combined and smooth
- Pour the batter evenly into your heart-shaped molds.
- Bake for about 20 minutes, or until a toothpick comes out clean.
- Let the cakes cool for a few minutes. Then decorate with powdered sugar, a drizzle of melted chocolate, and cute little strawberry hearts on top!
Notes
- Don’t overmix the batter. Stir until everything is just combined to keep the cakes soft and fluffy.
- If you use different molds, keep an eye on the baking time smaller molds might cook faster, while larger ones may need an extra minute or two.
- Make sure your butter is fully melted and slightly cooled so it mixes smoothly with the egg and milk.
- Let the cakes cool slightly before adding toppings so the powdered sugar and chocolate don’t melt right off.
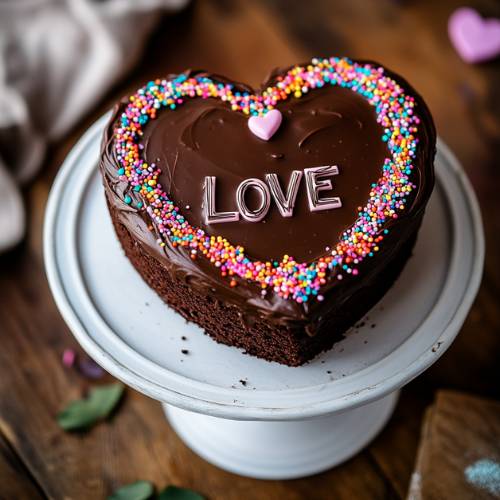
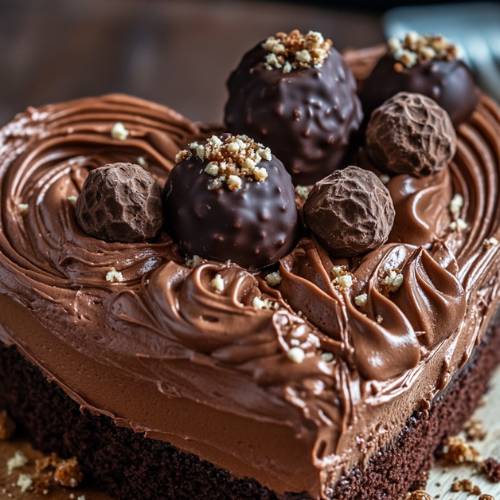
Serving Suggestions
These mini cakes are perfect for a cozy Valentine’s dessert, a sweet gift for a friend, or just a fun treat for yourself. Serve with a scoop of vanilla ice cream, a glass of milk, or a warm cup of coffee or tea. I love pairing mine with fresh berries on the side for a pop of color and flavor!
Fun Fact
Did you know chocolate releases feel-good chemicals in your brain, like serotonin? That might be why chocolate is the #1 gift on Valentine’s Day and why everyone loves these cakes so much!
Conclusion
These heart-shaped chocolate cakes are a little love letter in dessert form. They’re quick, easy, and fun to decorate and the best part is, they taste just as good as they look! Whether you’re baking for Valentine’s Day or just in the mood for something sweet, give these little cakes a try. I promise, your heart (and your belly) will be so happy!