The Best Yumblink Pancakes recipe you will fall in love with. Full of tips and tricks to help you make the best pancakes.


If you’re anything like me, you live for cherry season. There’s just something about those juicy, deep red gems that makes summer feel extra sweet. And when you blend them with creamy coconut milk and a splash of maple syrup? Magic. These Cherry Coconut Popsicles are a frozen treat I keep on repeat all summer long. They’re perfect for backyard hangs, beach trips, or late-night cravings plus, they’re so simple to make. Let’s dive into this cool and creamy recipe that’s naturally sweet and seriously refreshing.
Method
1. Prep the Cherries
To begin, you’ll want to pit the fresh cherries. This step is a little messy, but totally worth it. I usually slice each cherry in half and remove the pit by hand or with a cherry pitter if I have one nearby. Slicing the cherries not only makes blending easier but also helps distribute their sweet-tart flavor more evenly throughout the popsicle mixture. If you’re going for a chunkier texture later on, roughly chopping the cherries works great too.
2. Blend the Base
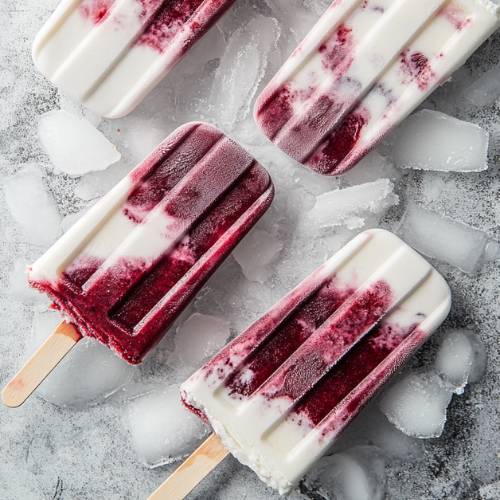
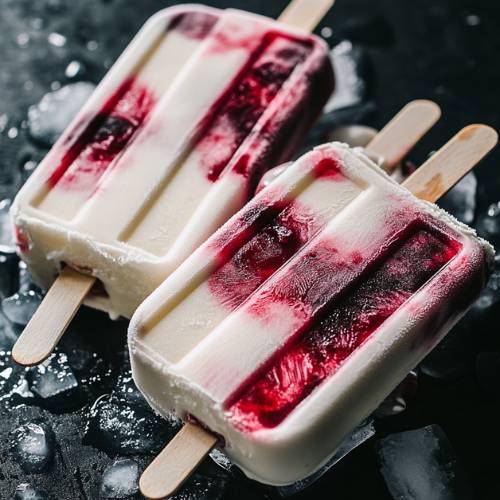
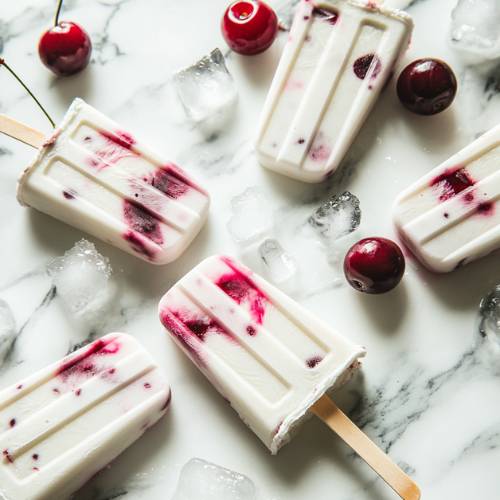
Next, grab your blender and add the full can of full-fat coconut milk. This gives the popsicles that rich, creamy texture we’re going for. Add in the maple syrup and vanilla extract for natural sweetness and a little depth of flavor. Then toss in your prepped cherries. Blend everything together until smooth if you want a creamy, uniform texture. If you’d rather have bits of cherry throughout your popsicles for a more rustic look and fruity bite, pulse the blender a few times instead of fully blending.
3. Pour into Molds
Once your mixture is blended to your liking, carefully pour it into your popsicle molds. You don’t need to fill them all the way to the top leave a little bit of space to allow for expansion as the mixture freezes. I like to tap the mold lightly on the counter to release any air bubbles and make sure the mixture settles evenly.
4. Freeze the Popsicles
Now it’s time to freeze. Insert your popsicle sticks into each mold and transfer the entire tray to the freezer. Let the popsicles freeze for at least 4 to 6 hours, but overnight is even better if you have the time. This ensures they’re completely solid and will hold together when you remove them from the molds.
5. Add Toppings (Optional)
Once frozen, you can take things up a notch with a few fun toppings. Melt some dark chocolate in a small bowl just enough to dip or drizzle. You can also prepare chopped walnuts, shredded coconut, or any toppings you like. Dip each popsicle into the melted chocolate or drizzle it over the top, then immediately sprinkle on your chosen toppings so they stick. Work quickly, as the chocolate will harden fast on the frozen surface.
6. Serve the Popsicles
When you’re ready to serve, take the popsicles out of the freezer and let them sit at room temperature for about 10 minutes. This makes it easier to slide them out of the molds without breaking. Serve them immediately, or store the extras in a freezer-safe container with parchment paper between layers to keep them fresh and ready for your next sweet craving.
Necessary Tools
- Blender
- Popsicle mold
- Popsicle sticks
- Measuring spoons and cups
- Freezer-safe container (optional for storage)
- Small bowl for melted chocolate or toppings (optional)
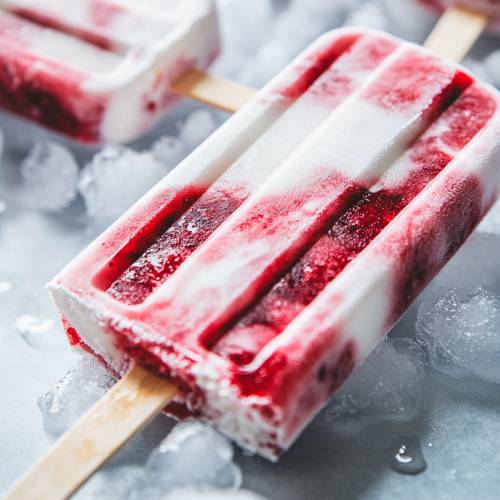
Creamy And Delicious Cherry Coconut Popsicles
Cuisine: AmericanDifficulty: EasyServings
6
servingsPrep time
10
minutesCooking timeminutes
Total time
10
minutesIngredients
1 can (13.5 oz) full-fat coconut milk
3 tablespoons maple syrup
½ teaspoon vanilla extract
1 cup fresh cherries, pitted
Optional Toppings
Melted dark chocolate
Chopped walnuts
Shredded coconut
Directions
- Prep your cherries. Start by pitting your fresh cherries. I like to slice them in half to make blending easier.
- Blend the base. In a blender, combine the full-fat coconut milk, maple syrup, vanilla extract, and cherries.
- Customize the texture. Blend until completely smooth if you want a creamy pop, or pulse a few times to leave bits of cherry for texture.
- Pour into molds. Carefully pour the mixture into your popsicle mold. Leave a little space at the top to allow for expansion when freezing.
- Freeze. Insert the popsicle sticks and freeze for at least 4–6 hours, or overnight for best results.
- Add toppings. Once frozen, dip in melted dark chocolate or sprinkle with chopped nuts and coconut flakes if you’d like.
- Serve. If eating straight from the freezer, let the popsicles sit at room temp for about 10 minutes so they release easier and are soft enough to enjoy.
Notes
- Don’t overfill the molds. Leave a bit of room at the top so they don’t overflow while freezing.
- Use full-fat coconut milk. Light versions won’t give you that rich, creamy texture.
- Wait to remove. If you try to pull the pops out too soon, they might break or stick. Let them thaw slightly first.
- Chill your chocolate topping. If you’re adding chocolate, make sure the popsicles are cold enough so the chocolate sets quickly.
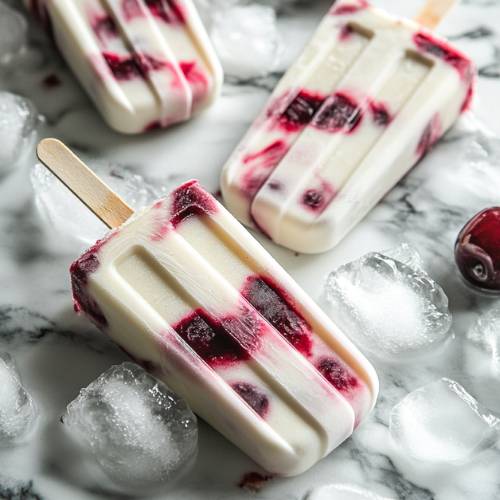
Serving Suggestions
These are great on their own, but here are a few fun ways to serve them
- At a summer BBQ, arranged in a bowl of crushed ice
- Dipped in chocolate and rolled in coconut for a fancy flair
- Paired with fresh fruit slices for a light dessert platter
- As a cooling treat after a beach or pool day
Fun Fact
Did you know that cherries are a natural source of melatonin? That means they can actually help you sleep better. So yes, you can have popsicles before bed and call it self-care.
Conclusion
These Cherry Coconut Popsicles are one of those recipes that checks all the boxes easy, creamy, refreshing, and just the right amount of sweet. I love having a stash ready in the freezer for when the summer heat kicks in or when I want a guilt-free dessert. Plus, they’re made with just a few real ingredients, so they’re a win for both flavor and simplicity. I hope you love them as much as I do!