The Best Yumblink Pancakes recipe you will fall in love with. Full of tips and tricks to help you make the best pancakes.


If you’re anything like me, you grew up snacking on Nutter Butters and wondering how something so simple could taste so good. Well, I’m happy to say these homemade copycat Nutter Butter cookies give the classic treat a delicious, healthy twist and they’re only five ingredients! They’re gluten-free, naturally sweetened, and ridiculously easy to whip up. The best part? You can customize the nut butter to fit your taste, so almond, cashew, or even sunflower butter lovers this one’s for you too!
Method
1. Mix It All Up
Start by grabbing a medium-sized mixing bowl. Add 1/2 cup of creamy peanut butter, 1/4 cup of maple syrup, 1 teaspoon of vanilla extract, 1 cup of almond flour (or 3/4 cup if you prefer a softer texture), and a pinch of salt. Use a spatula or spoon to stir everything together until it forms a smooth, cohesive dough. It should be thick but not dry easy to roll without sticking to your hands. If the dough seems too sticky, let it sit for a few minutes or add a tiny bit more almond flour.
2. Roll the Dough
Once your dough is ready, it’s time to shape it. Scoop out small amounts about a teaspoon each and roll them between your palms to form smooth balls. Try to keep them similar in size so they bake evenly. You’ll need two dough balls for each cookie, so plan accordingly.
3. Shape Them
Place two dough balls side-by-side on a parchment-lined baking sheet. Press them together gently using your fingers to form a long oval shape kind of like a peanut shell. This gives the cookies their signature Nutter Butter look. Repeat until all the dough is used, spacing the cookies out slightly since they may spread just a little.
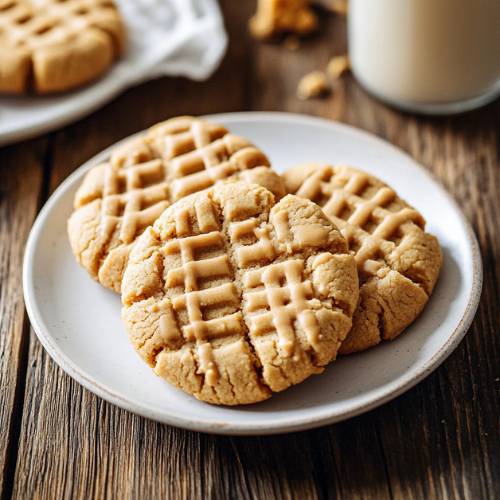
4. Fork It
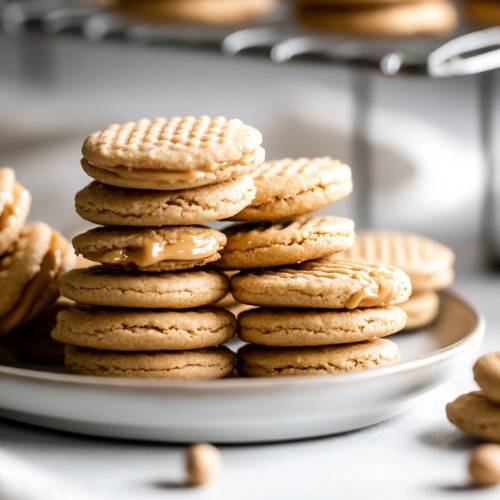
Now for the classic detail. Use the back of a fork to press a wavy or crisscross pattern across the tops of the cookies. This adds texture and helps them look more like the store-bought version. Press lightly you want to create the design without flattening the cookies too much.
5. Bake
Preheat your oven to 350°F (175°C). Slide the baking sheet into the oven and bake the cookies for 10 to 15 minutes. Check them at the 10-minute mark. They should look slightly golden around the edges but still soft in the middle. Don’t overbake, or they’ll become too crisp once cooled.
6. Cool
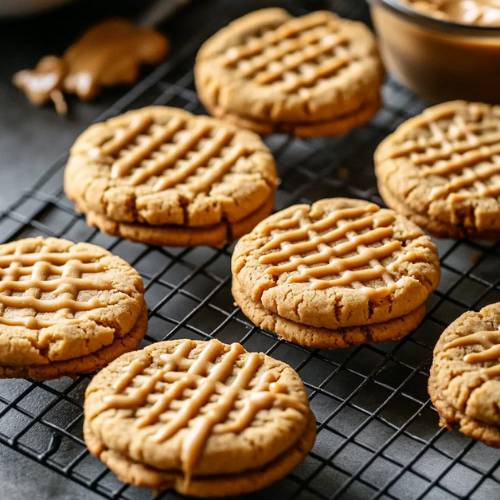
This part is important! Let the cookies cool on the baking sheet for at least 10 to 15 minutes. They’ll be very soft when they first come out of the oven, but they’ll firm up as they cool. Once they’re cool enough to handle, transfer them carefully to a wire rack to finish cooling completely.
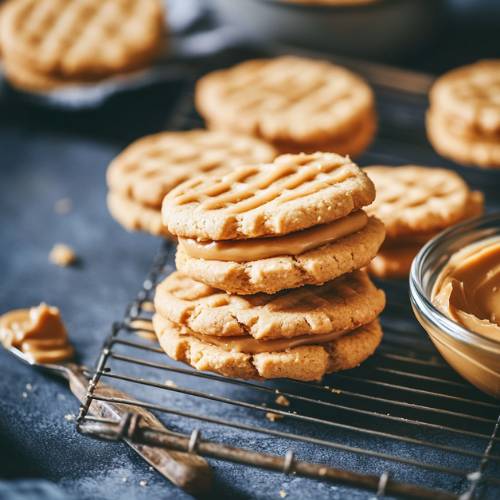
7. Optional Sandwich
If you want to take things to the next level, add a filling. Once your cookies are completely cool, spread a thin layer of creamy peanut butter on the flat side of one cookie, then gently press another cookie on top to make a sandwich. You can store these as singles or sandwiches it’s totally up to you. Either way, they’re absolutely delicious.
Necessary Tools
- Mixing bowl
- Measuring cups and spoons
- Baking sheet
- Parchment paper
- Fork (for that classic cookie pattern)
- Spatula or spoon
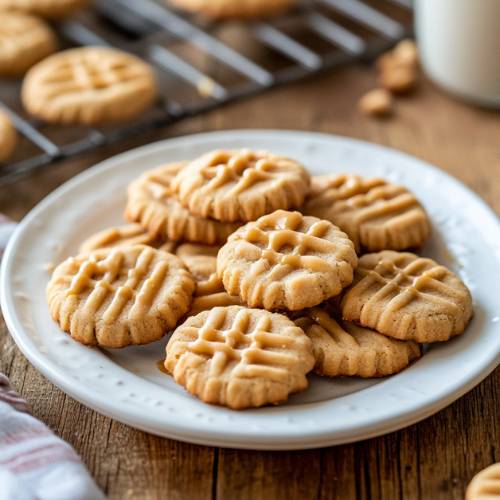
Copycat Nutter Butter
Cuisine: AmericanDifficulty: EasyServings
10
servingsPrep time
10
minutesCooking time
12
minutesTotal time
22
minutesIngredients
1/2 cup creamy peanut butter (or any nut/seed butter)
1/4 cup maple syrup
1 tsp vanilla extract
1 cup almond flour (use 3/4 cup if you like softer cookies)
Pinch of salt
Directions
- Mix it all up. Add the peanut butter, maple syrup, vanilla, almond flour, and salt into a bowl. Stir until smooth and well combined.
- Roll the dough. Scoop out small teaspoon-sized pieces of dough. Roll into balls.
- Shape them. Place two dough balls next to each other on a lined baking sheet. Use your fingers to gently press them into an oval shape
- Fork it Lightly press the tops of the cookies with a fork to make that iconic crisscross or wavy pattern.
- Bake the tray into a preheated oven at 350°F for 10–15 minutes. The edges should look lightly golden.
- Cool. Let the cookies cool completely before moving them. They’ll firm up as they cool.
- Optional sandwich: Spread a thin layer of peanut butter on the flat side of one cookie and top it with another for a full “Nutter Butter” experience!
Notes
- Don’t skip the cooling. These cookies are very soft right out of the oven. Let them cool completely or they may crumble.
- Watch the bake time. All ovens are a bit different. Check the cookies around the 10-minute mark to prevent overbaking.
- Use smooth nut butter. Chunky nut butter will change the texture and make shaping harder. Stick with creamy for best results.
- Measure flour carefully. If you use too much almond flour, the dough will be dry and crumbly. Too little and they might not hold shape.
Serving Suggestions
- Enjoy with a cold glass of milk or almond milk
- Crumble one into a bowl of vanilla yogurt
- Pack them into school lunchboxes or picnic baskets
- Serve with ice cream as a fun topper
Fun Fact
Did you know the original Nutter Butter cookie was invented in 1969? It was shaped like a peanut to match the peanut butter flavor and became an instant classic!
Conclusion
Whether you’re chasing nostalgia or just want an easy gluten-free treat, these copycat Nutter Butter cookies hit the sweet spot. They’re simple, soft, nutty, and easy to make with whatever nut butter you have on hand. Plus, they’re made with wholesome ingredients, so you can feel good about reaching for seconds. Give them a try I bet you’ll be hooked after the first bite!