The Best Yumblink Pancakes recipe you will fall in love with. Full of tips and tricks to help you make the best pancakes.


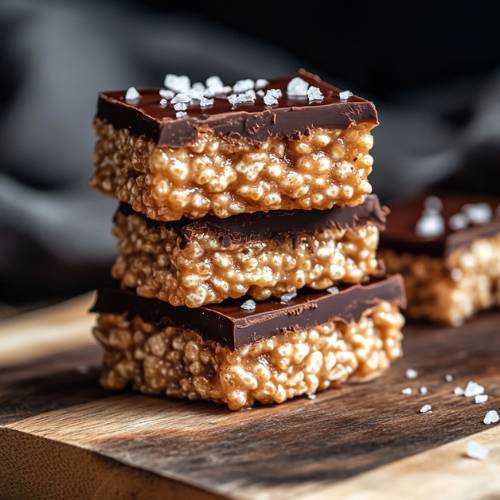
I have a confession I’m officially hooked on these peanut butter rice krispie treats covered in melted chocolate. They’re chewy, crunchy, chocolatey, salty-sweet perfection. And the best part? They’re made with better-for-you ingredients and zero oven time. I whipped up a batch on a lazy Sunday afternoon, and they disappeared from my freezer way too fast. If you’re a fan of candy bars or anything peanut butter + chocolate, this is your sign to make a batch ASAP.
Method
Step 1 Make the Peanut Butter Mixture
Start by placing a small saucepan over low to medium heat. Add in the peanut butter, maple syrup, vanilla extract, and melted coconut oil. Stir everything gently and consistently using a spoon or silicone spatula. You want the mixture to melt slowly and come together into a smooth, glossy texture almost like warm peanut butter frosting. Be careful not to crank the heat too high here; slow and steady helps keep the mixture soft and smooth without drying out.
Step 2 Stir in the Puffed Rice
Once the mixture is silky and well-combined, remove the pan from the heat. Immediately stir in your puffed rice cereal or crushed rice cakes. Mix thoroughly until every puffed rice piece is coated with that dreamy peanut butter mixture. It should feel sticky, clumpy, and slightly firm exactly what you want to press into a pan.
Step 3 Press Into the Tray and Freeze
Now grab a small baking tray lined with parchment paper. Pour the mixture into the tray and press it down firmly into an even layer. Use clean hands or the back of a spoon to make it flat and packed tightly it helps the bars hold together better. Once it’s smooth and even, place the tray in the freezer for about 1 hour. This sets the bars and makes them firm enough for slicing.
Step 4 Slice Into Bars
After an hour in the freezer, the mixture should be solid and easy to cut. Use a sharp knife to slice it into evenly sized bars. You can cut them as big or small as you like just keep the shape uniform for easy coating later.
Step 5 Melt the Chocolate
While the bars rest, it’s time to melt the chocolate. Add your chocolate chips to a microwave-safe bowl and microwave in short 30-second bursts, stirring in between, until fully melted and smooth. If you prefer, you can also use a double boiler to melt the chocolate gently without any risk of scorching.
Step 6 Coat the Bars in Chocolate and Add Salt
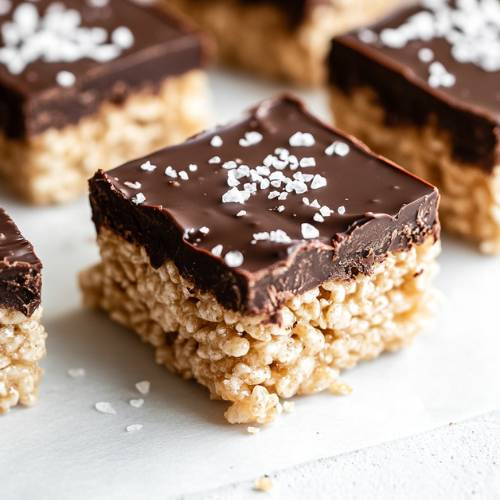
One by one, dip or drizzle each bar with the melted chocolate. You can dunk the whole thing or just cover the tops totally up to you! Once coated, place the bars back onto the parchment-lined tray. Sprinkle each bar with a little flaky sea salt before the chocolate hardens for that perfect sweet-salty finish.
Step 7 Final Chill and Storage
Place the tray back in the freezer for another 10 to 15 minutes, just until the chocolate is fully set. Once firm, your bars are ready to eat! Store them in an airtight container in the freezer and enjoy whenever the craving hits. They’re best served chilled, but if you like a softer texture, just let them sit at room temp for a couple of minutes before eating.
Necessary Tools
- Small saucepan
- Mixing spoon or silicone spatula
- Parchment paper
- Baking tray
- Freezer
- Sharp knife for slicing
- Microwave-safe bowl (or double boiler) for melting chocolate
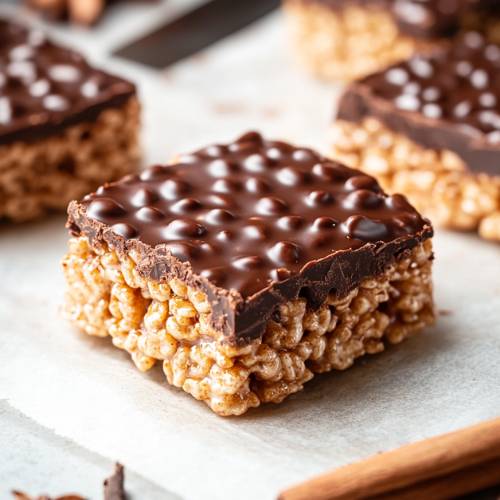
Rice Krispie Treats Covered In Melted Chocolate
Cuisine: AmericanDifficulty: EasyServings
8
servingsPrep time
15
minutesCooking timeminutes
Total time
15
minutesIngredients
½ cup peanut butter (creamy works best)
2 tablespoons maple syrup
1 teaspoon vanilla extract
1 tablespoon melted coconut oil
1 cup puffed rice cereal (or crushed-up rice cakes if that’s what you have!)
1 cup chocolate chips (dark or semi-sweet)
Flaky sea salt (for topping)
Directions
- In a small saucepan over low-medium heat, stir together the peanut butter, maple syrup, vanilla extract, and melted coconut oil. Stir until everything is smooth and blended it should look like warm peanut butter frosting.
- Remove from heat and stir in the puffed rice cereal. Make sure every bit is coated in the peanut butter mixture.
- Press the mixture into a parchment-lined baking tray. Use your hands or the back of a spoon to flatten it into a nice, even layer. Pop it in the freezer for 1 hour to set.
- Once firm, slice the tray into bars.
- Melt your chocolate chips in a microwave-safe bowl (30-second bursts, stirring in between) or use a double boiler. Dip or drizzle each bar in the melted chocolate and place them back on the parchment.
- Sprinkle with flaky sea salt, then freeze again for 10–15 minutes until the chocolate hardens completely.
- Store the finished bars in the freezer and enjoy them straight from there whenever that sweet tooth kicks in!
Notes
- Don’t overheat the peanut butter mix if it gets too hot, it’ll dry out and won’t mix well with the cereal.
- Work quickly when pressing the mixture into the tray. It can start to firm up and become sticky fast.
- Freeze before cutting. If you skip the chill, your bars will fall apart when slicing.
- Make sure your chocolate isn’t too hot when coating the bars, or they might melt and lose their shape.
Serving Suggestions
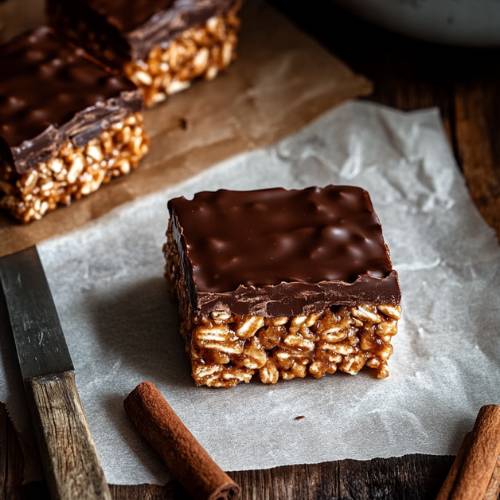
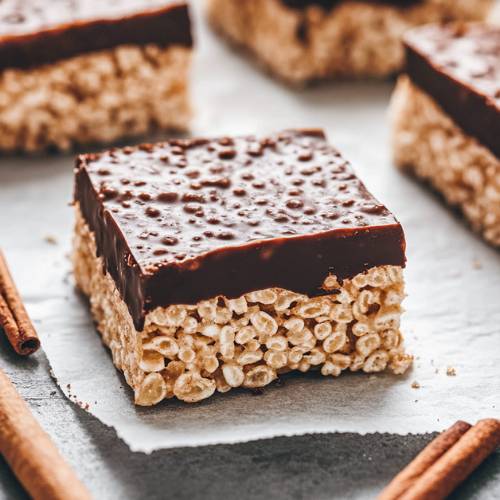
- These bars are perfect straight from the freezer, but if you want a softer bite, let them sit at room temp for 2–3 minutes.
- Crumble one into yogurt or vanilla ice cream for a crunchy mix-in.
- Slice them smaller and serve them as mini bites for parties or lunchbox treats.
Fun Fact
The original Rice Krispie Treat was invented in 1939 by Kellogg’s employees as a fundraiser for the Camp Fire Girls! It was basically the world’s tastiest marshmallow billboard.
Conclusion
These peanut butter rice krispie bars are everything I love in a snack crunchy, gooey, chocolatey, and easy to make with pantry staples. They’re basically a homemade candy bar that you don’t have to feel guilty about (unless you eat the whole batch in two days like I did). Make a tray, stash them in the freezer, and thank me later. Trust me, they won’t last long!