The Best Yumblink Pancakes recipe you will fall in love with. Full of tips and tricks to help you make the best pancakes.


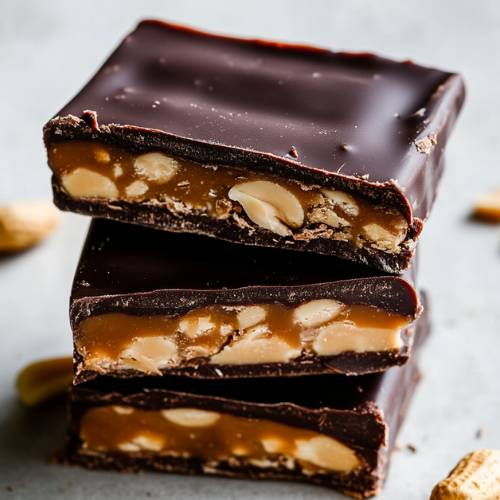
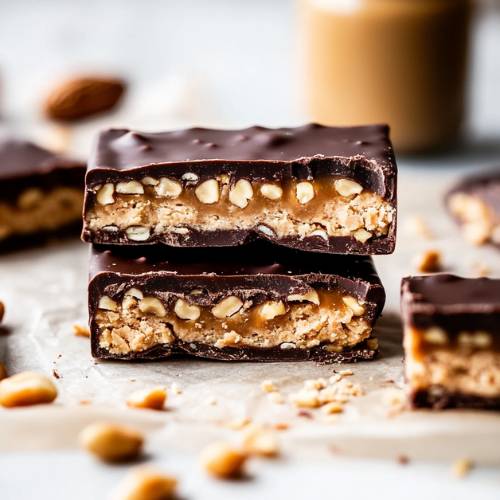
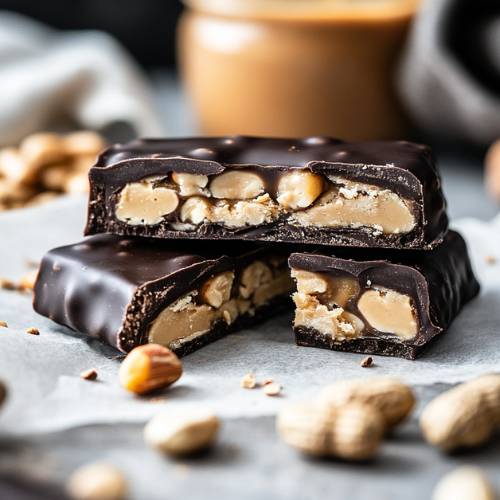
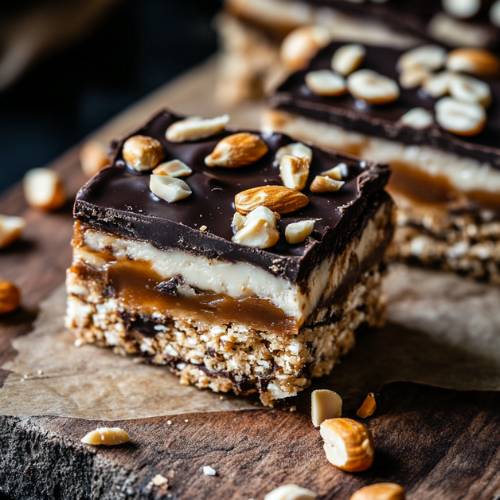
Okay, let’s talk about these no-bake, better-for-you Snickers bars. If you’re anything like me, sometimes you just want a treat that feels indulgent but won’t totally derail your day. These bars are soft, chocolatey, a little crunchy, and hit all the right notes without refined sugar or baking. I love keeping a stash in the freezer for when that sweet tooth kicks in. And bonus, they’re super easy to make. Let’s get into it!
Method
1. Make the Base Layer
Start by preparing the base layer, which acts as the “nougat” in these better-for-you Snickers bars. In a medium mixing bowl, combine 1 cup plus 2 tablespoons of almond flour with a pinch of salt. Stir in 2 tablespoons of maple syrup, 2 tablespoons of melted coconut oil, and a splash of vanilla extract. Mix everything together until it forms a crumbly dough. The texture should feel slightly moist but still sandy don’t worry if it doesn’t look like traditional dough. Transfer the mixture to a loaf pan lined with parchment paper. Press it down evenly and firmly with the back of a spoon or your fingertips to form a compact layer. This will help it hold together once chilled. Place the loaf pan in the freezer for about 10 minutes while you move on to the next step.
2. Make the Peanut Butter Caramel Layer
Next up is the rich and gooey peanut butter caramel layer. In a small saucepan over low to medium heat, combine 1/2 cup of creamy peanut butter, 3 tablespoons of maple syrup, and 2 tablespoons of melted coconut oil. Stir the mixture continuously as it gently heats, making sure all the ingredients are fully incorporated into a smooth and glossy caramel-like texture. Once the mixture is well blended and warm (but not boiling), remove it from the heat and let it cool for 5 to 10 minutes. This step is important so it doesn’t melt the base layer. After cooling, pour the caramel evenly over the frozen almond flour base. Use a spatula to smooth it into an even layer. Sprinkle a handful of roasted peanuts across the top to give it that classic Snickers crunch. Return the pan to the freezer to let the caramel firm up while you prep the chocolate.
3. Make the Chocolate Layer
Now it’s time to create the final chocolate topping. In a small microwave-safe bowl or using a double boiler on the stovetop, melt 1/2 cup of chocolate chips with 1 teaspoon of coconut oil. Stir until the chocolate is silky smooth. Once melted, take the loaf pan out of the freezer and pour the chocolate over the peanut butter caramel layer. Spread it out evenly using the back of a spoon or offset spatula to ensure full coverage. To finish, sprinkle a pinch of flaky sea salt over the top to bring out the sweetness and enhance that “candy bar” vibe. Place the pan back into the freezer for at least 30 minutes, or until the chocolate has fully hardened and all layers are set.
4. Slice and Store
Once your bars are completely frozen and firm, lift them out of the loaf pan using the edges of the parchment paper. Place on a cutting board and use a sharp knife to slice into 8 to 10 bars, depending on your size preference. These bars are best stored in an airtight container in the freezer. When you’re ready for a treat, just grab one straight from the freezer they’re perfectly chewy and satisfying every time.
Necessary Tools
- Mixing bowls
- Spoon or spatula
- Saucepan (for caramel)
- Loaf pan
- Parchment paper
- Small knife for slicing
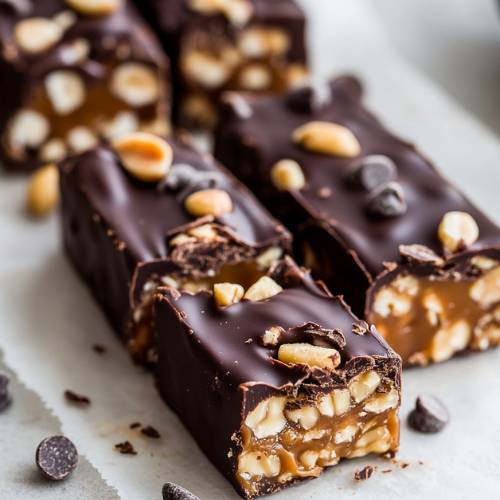
No-Bake Better-For-You Snickers Bars
Cuisine: AmericanDifficulty: EasyServings
10
servingsPrep time
2
hours32
minutesCooking timeminutes
Total time
15
minutesIngredients
Base Layer
1 cup + 2 tbsp almond flour
Pinch of salt
2 tbsp maple syrup
2 tbsp melted coconut oil
Splash of vanilla extract
Peanut Butter Caramel Layer
1/2 cup creamy peanut butter
3 tbsp maple syrup
2 tbsp melted coconut oil
Chocolate Layer
1/2 cup chocolate chips
1 tsp melted coconut oil
Toppings
Roasted peanuts
Flaky salt
Directions
- Make the Base Layer In a bowl, mix almond flour, salt, maple syrup, melted coconut oil, and vanilla. The dough should be crumbly but hold together when pressed. Press it evenly into a parchment-lined loaf pan. Pop it into the freezer while you make the next layer.
- Make the Peanut Butter Caramel In a saucepan over low-medium heat, stir together peanut butter, maple syrup, and coconut oil until smooth. Let it cool for 5–10 minutes, then pour it over the base layer. Sprinkle roasted peanuts on top. Freeze again.
- Make the Chocolate Layer Melt chocolate chips and coconut oil together (you can use the microwave or stovetop). Pour over the caramel layer and spread evenly. Add flaky salt on top. Freeze again for 30 minutes or until everything is firm.
- Slice & Enjoy Once fully set, remove from the freezer and slice into bars. Store them in the freezer so they stay fresh and snappy.
Notes
- Make sure your caramel layer cools slightly before pouring if it’s too hot, it can melt the base.
- Press each layer gently but firmly to keep things compact and even.
- Don’t skip the parchment paper! It makes removing and slicing way easier.
- If slicing is tough, let the bars sit out for 2–3 minutes to soften just enough.
Serving Suggestions
These bars are best eaten straight from the freezer! I like cutting them into mini squares for a quick bite after dinner. You could even crumble one over a bowl of vanilla yogurt or chop into chunks and mix into banana nice cream for a Snickers swirl vibe.
Fun Fact
Did you know the original Snickers bar was created in 1930 and named after a horse? Wild, right? This version may not be riding into any candy history books, but it will make your freezer feel pretty special.
Conclusion
If you’re looking for something sweet, satisfying, and made with real ingredients, these no-bake, better-for-you Snickers bars are where it’s at. I love how quick they are to throw together and how delicious they taste right from the freezer. They’re perfect for when you want a treat that feels like dessert but doesn’t leave you feeling weighed down. Give them a try, you might not go back to the store-bought ones again.