The Best Yumblink Pancakes recipe you will fall in love with. Full of tips and tricks to help you make the best pancakes.


These small batch banana bread bars have become my weekly go-to. They’re easy to whip up, naturally sweet, and just the right size for a quick breakfast or a cozy pairing with iced coffee. I love how simple they are, one bowl, no fuss, and filled with good stuff like almond butter, walnuts, and chocolate chips. You can even sprinkle flaky sea salt on top for that fancy bakery feel. Let’s get into it.
Method
1. Preheat and Prepare the Pan
Start by preheating your oven to 350°F (180°C). This ensures the oven is at the right temperature by the time your batter is ready to go in. Next, take a small baking pan an 8×8 inch size works perfectly and line it with parchment paper. This step helps prevent sticking and makes it easy to lift the bars out once they’re baked.
2. Mash the Banana
In a medium-sized mixing bowl, peel and mash your super ripe banana using a fork. You want it smooth with very few lumps, as this will help it mix evenly with the other wet ingredients and provide natural sweetness and moisture to the bars.
3. Mix Wet Ingredients
To the mashed banana, add the almond butter, maple syrup (if using), vanilla extract, and egg. Stir everything together with a spatula or spoon until the mixture is fully combined and looks creamy. The almond butter adds richness and helps hold everything together, while the egg gives the bars structure.
4. Add Dry Ingredients
Now it’s time to bring in the dry ingredients. Add the almond flour, baking soda, and cinnamon directly into the bowl. Gently mix until everything is incorporated. Don’t overmix just stir until the batter comes together smoothly. Overmixing can make the bars dense instead of soft and tender.
5. Fold in the Good Stuff
Once your base batter is ready, it’s time for the fun part. Fold in a handful of chocolate chips and chopped walnuts. You can adjust the amount to your preference. This step adds flavor, crunch, and little bursts of chocolatey sweetness in every bite.
6. Pour and Spread the Batter
Transfer the batter into your prepared baking pan. Use a spatula to spread it out evenly all the way to the corners. Smooth the top out gently. This helps the bars bake uniformly and look nice once they’re done.
7. Bake the Bars
Place the pan in the preheated oven and bake for 40 to 45 minutes. You’ll know they’re ready when the top is lightly golden and a toothpick inserted in the center comes out clean or with a few moist crumbs. Avoid opening the oven too often while baking, as this can lower the oven temperature and affect the texture.
8. Add Finishing Touches and Cool
Right after removing the bars from the oven, sprinkle the top with flaky sea salt. This balances the sweetness and enhances the flavor of the chocolate. Let the bars cool completely in the pan. Cooling helps them firm up and makes slicing much easier without crumbling.
9. Slice and Store
Once cooled, lift the parchment paper to remove the bars from the pan. Slice them into 6 to 8 even pieces. Store the bars in an airtight container in the refrigerator. They’ll keep well for several days and make the perfect grab-and-go breakfast or snack.
Necessary Tools
- Mixing bowl
- Fork (for mashing banana)
- Measuring spoons and cups
- Spatula or spoon for mixing
- Parchment paper
- Small baking pan (about 8×8 inches or similar)
- Oven
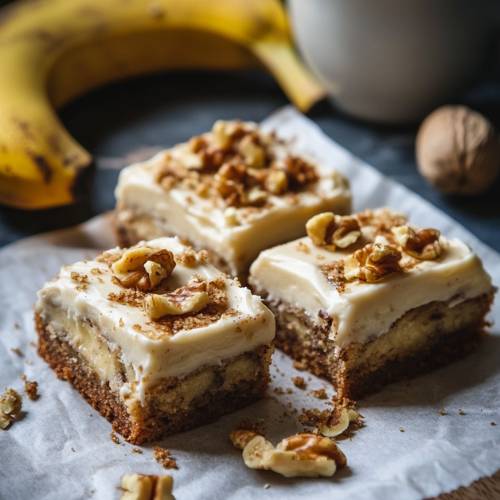
Banana Bread Bars
Cuisine: AmericanDifficulty: EasyServings
6
servingsPrep time
10
minutesCooking time
45
minutesTotal time
55
minutesIngredients
1 super ripe banana, mashed
3 tablespoons almond butter (I used coffee almond butter)
2 tablespoons maple syrup (optional, but great if you like it sweeter)
1 teaspoon vanilla extract
1 egg
1 cup almond flour
1/4 teaspoon baking soda
1/4 teaspoon cinnamon
Chocolate chips (I like Guittard)
Chopped walnuts
Flaky sea salt for topping
Directions
- Preheat your oven to 350°F (180°C). Line your baking pan with parchment paper.
- In a medium bowl, mash the banana until smooth.
- Add the almond butter, maple syrup, vanilla, and egg. Mix until well combined.
- Stir in the almond flour, baking soda, and cinnamon. Mix until the batter comes together.
- Fold in a handful of chocolate chips and chopped walnuts.
- Pour the batter into your lined pan and spread it evenly.
- Bake for 40–45 minutes, or until the top is golden and a toothpick comes out clean.
- Once out of the oven, sprinkle with flaky sea salt.
- Let it cool completely before slicing into bars.
- Store leftovers in the fridge for grab-and-go breakfasts all week.
Notes
- Don’t skip the parchment paper it helps the bars come out cleanly and makes cleanup easy.
- Be careful not to overmix the batter once the dry ingredients go in. That keeps the texture nice and tender.
- Make sure your banana is really ripe. The darker the peel, the better the flavor and moisture.
- Let the bars cool before slicing so they don’t fall apart or turn mushy.
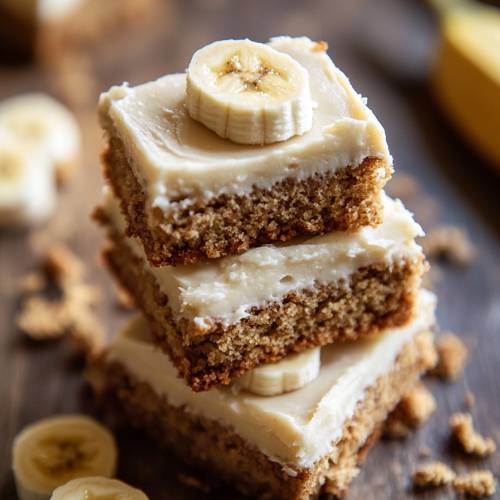
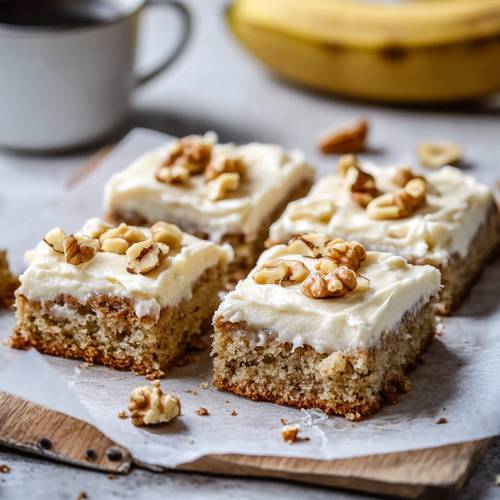
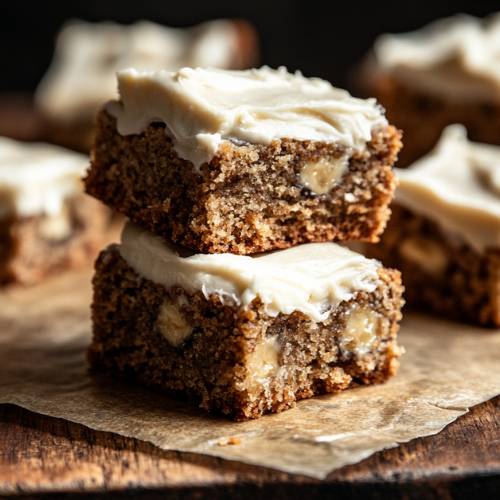
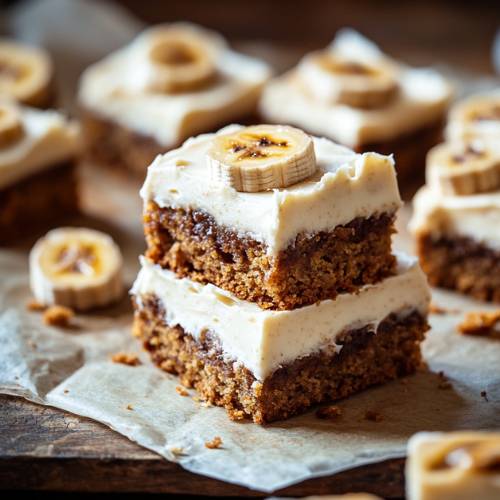
Serving Suggestions
- Pair with iced coffee or a chai latte for a dreamy breakfast.
- Warm it up slightly and top with a dollop of Greek yogurt or nut butter.
- Crumble over yogurt bowls or oatmeal for a little banana bread crunch.
- Wrap them individually and keep them in the fridge for a post-lunch treat.
Fun Fact
Did you know bananas get sweeter as they ripen because their starch turns into sugar? That’s why overripe bananas are perfect for baking they’re nature’s candy and help sweeten the bars naturally.
Conclusion
These small batch banana bread bars are simple, cozy, and just the right amount of sweet. I love making them on a Sunday so I have something ready to go all week long. Whether you eat them with coffee, crumble them into breakfast, or enjoy them as an afternoon snack, they’re sure to be a hit. Let me know if you try them I have a feeling you’ll be hooked too.