The Best Yumblink Pancakes recipe you will fall in love with. Full of tips and tricks to help you make the best pancakes.


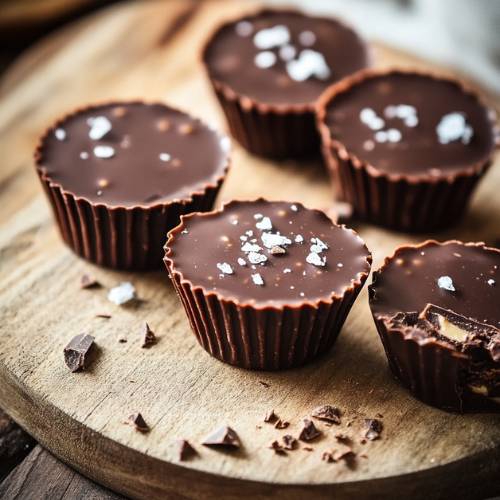
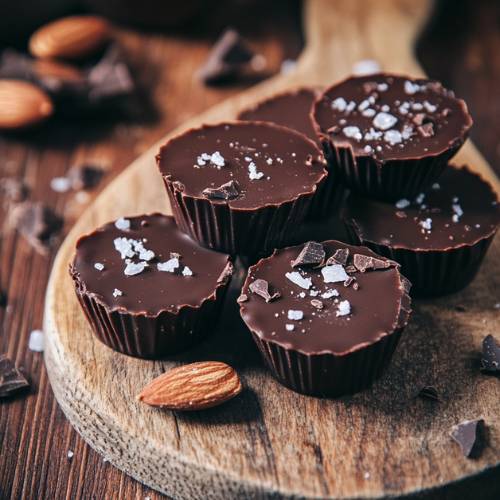
If you were anything like me growing up, you probably had a soft spot for peanut butter cups. I know I did. That smooth, creamy center surrounded by rich chocolate? Absolute magic. These Dark Chocolate Almond Butter Cups are my upgraded, better-for-you version and honestly, I think they’re even better than the classic. They’re gluten-free, naturally sweetened, and can easily be made vegan. Plus, they only take a few simple ingredients and a little freezer time. Let’s make some chocolatey goodness!
Method
1. Melt the Chocolate
Start by melting the chocolate chips along with the melted coconut oil. You can do this in a small microwave-safe bowl, heating in 20-second bursts and stirring between each round until smooth and glossy. Alternatively, you can use a double boiler on the stovetop. The coconut oil helps thin the chocolate slightly, making it easier to spread and giving it that perfect snappy texture once frozen.
2. First Chocolate Layer
Line your mini muffin pan with mini muffin liners. Then, spoon about 1 teaspoon of the melted chocolate into each liner. Use the back of your spoon or a small spatula to gently spread the chocolate so it covers the entire bottom of the liner evenly. Don’t worry if it’s not perfect once it chills, it’ll harden into a solid base. Pop the whole tray into the freezer for 15 minutes. This gives you a firm layer that won’t mix into the filling later.
3. Make the Almond Butter Filling
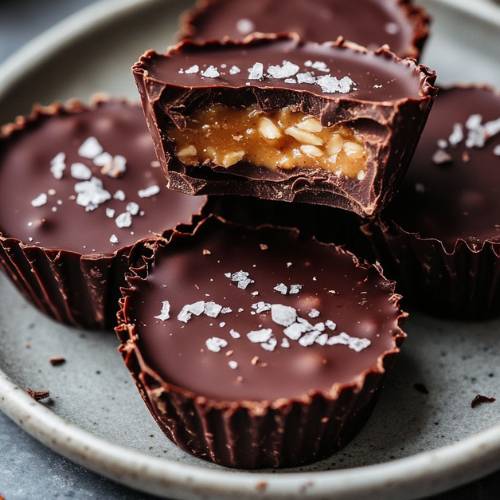
While the chocolate base is chilling, it’s time to whip up the almond butter layer. In a medium-sized mixing bowl, combine the almond butter, maple syrup, a splash of vanilla extract, almond flour, and a pinch of sea salt. Stir everything together until the mixture thickens into a dough-like texture. The almond flour helps it firm up so it holds shape when placed over the chocolate. Once it’s fully combined, roll the mixture into teaspoon-sized balls using your hands, then gently flatten each one into a small disc.
4. Top with Filling and Cover
Take the tray out of the freezer and place one almond butter disc directly on top of each chocolate base. Then, spoon more melted chocolate over each one just enough to fully coat and seal the filling. Use your spoon or a small spatula to smooth out the tops. Try to work quickly so the filling doesn’t start to soften too much before being covered.
5. Freeze Again
Return the tray to the freezer for another 15 minutes. This final freeze sets the top layer of chocolate and firms everything up. Once they’re solid, you’ll be able to peel off the liner and bite into that perfect two-layered treat.
6. Finish and Enjoy
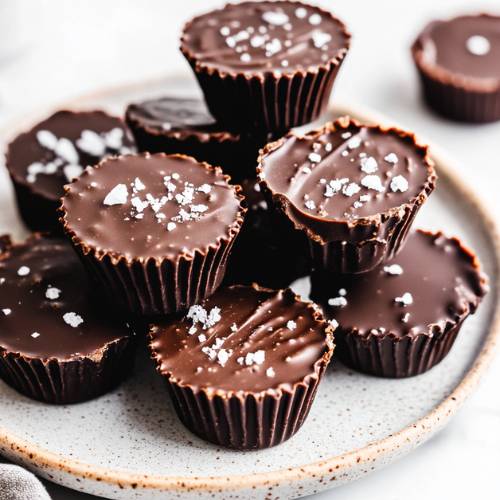
Once the cups are fully hardened, you can sprinkle a bit of flaky sea salt over the top for that sweet-and-salty magic. Then they’re ready to eat! I recommend storing them in an airtight container in the freezer to keep them firm and fresh. Just let them sit out for a minute or two before biting in, unless you love that super cold chocolate crunch.
Necessary Tools
- Mini muffin pan
- Mini muffin liners
- Mixing bowl
- Spoon or small spatula
- Small bowl for melting chocolate
- Freezer space
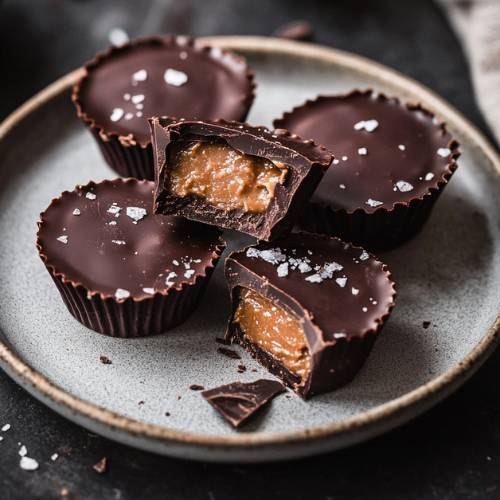
Dark Chocolate Almond Butter Cups
Cuisine: AmericanDifficulty: EasyServings
12
servingsPrep time
15
minutesCooking timeminutes
Total time
15
minutesIngredients
Chocolate Layers
½ cup chocolate chips
½ tablespoon melted coconut oil
Almond Butter Filling
¼ cup creamy almond butter
1 tablespoon maple syrup
Splash of vanilla extract
2 tablespoons almond flour
Pinch of sea salt
Optional Topping
Flaky sea salt
Directions
- Melt the chocolate.
In a small bowl, melt the chocolate chips with the melted coconut oil until completely smooth. You can use a microwave in 20-second intervals or a double boiler. - First chocolate layer.
Add about 1 teaspoon of the melted chocolate into each mini muffin liner. Spread it slightly so it covers the bottom evenly. Pop the tray into the freezer for 15 minutes until it firms up. - Make the almond butter filling.
In a bowl, mix the almond butter, maple syrup, vanilla, almond flour, and salt until it turns into a soft dough. Roll into 1 teaspoon-sized balls, flatten slightly, and place on top of the hardened chocolate layer. - Top it off.
Spoon more melted chocolate over each almond butter center to fully cover it. Smooth out the top with a spoon. - Freeze again.
Put the tray back in the freezer for another 15 minutes until the top layer is set. - Finish and enjoy.
Sprinkle with flaky sea salt if you’d like. Store them in the freezer and snack whenever you need a treat!
Notes
- Make sure your almond butter isn’t too runny. It should be creamy but thick enough to roll into balls.
- Don’t skip the freezing step it helps the layers set and makes the cups easier to handle.
- If your chocolate seizes while melting, add a tiny bit more coconut oil to smooth it back out.
- Use mini liners! Regular cupcake liners will make them way too big and hard to eat in one bite.
Serving Suggestions
- Last-minute Halloween treat? These are perfect for handing out to friends or adding to a spooky dessert board.
- Post-dinner dessert Just one or two after a meal really hits the spot.
- Lunchbox surprise Wrap one in parchment and pack it for an on-the-go treat.
Fun Fact
Did you know almond butter is naturally packed with healthy fats, vitamin E, and magnesium? So yeah… you’re basically doing your body a favor while eating candy. Winning!
Conclusion
These dark chocolate almond butter cups are proof that simple, wholesome ingredients can make seriously amazing desserts. They’re rich, a little salty, a little sweet, and way too easy to devour. Plus, you don’t even need to turn on the oven! I like to keep a stash in the freezer for those snack emergencies (you know the ones). Try them out you might just ditch the store-bought version for good.