The Best Yumblink Pancakes recipe you will fall in love with. Full of tips and tricks to help you make the best pancakes.


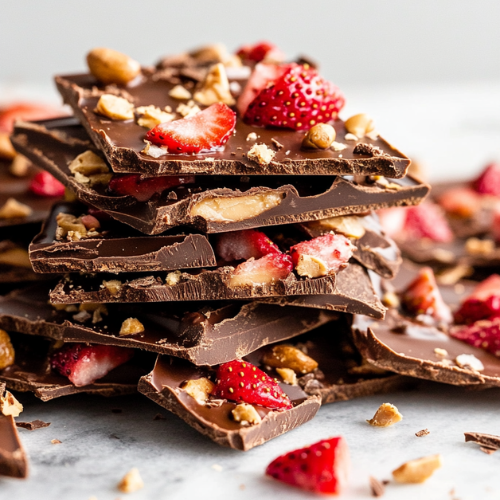
There’s a reason this Strawberry Peanut Butter Chocolate Bark has gone viral it’s that good! I tried it once and instantly fell in love. It’s the perfect mix of juicy, creamy, and chocolatey in every bite. And guess what? You only need 3 ingredients and a freezer. I grabbed everything from my local @Sprouts and had dessert ready in under 10 minutes (plus freeze time, of course). Whether you’re craving something sweet but still want to feel good about it, this recipe checks all the boxes. Let’s make it together!
Method
1. Wash & Slice
First, grab your pack of fresh strawberries and give them a good rinse under cool water to remove any dirt or residue. Once they’re clean, gently pat them dry using a paper towel or clean kitchen cloth this step is important because extra moisture can make it harder for the peanut butter to stick. After that, take a sharp knife and carefully slice the strawberries into thin, even pieces, about the thickness of a coin. Try to keep the thickness consistent so the bark freezes evenly later.
2. Line It Up
Next, line a baking sheet with parchment paper. This makes it easy to remove the bark once it’s frozen and prevents sticking. Arrange your strawberry slices in a flat, single layer on the parchment paper. Try to place them close together without overlapping too much it should look like you’re creating a strawberry mosaic or puzzle. This will form the base of your bark and give it that juicy, fruity bite.
3. Peanut Butter Layer
Once your strawberry layer is all set, it’s time for the creamy goodness. Use a spoon or small spatula to gently spread a layer of creamy peanut butter over the sliced strawberries. You don’t need a thick coat just enough to cover each slice. It’s okay if it gets a little messy or if some strawberries peek through. The goal is to have a nice even layer that will hold the chocolate topping.
4. Melt & Pour
Now for the chocolate! Pour ½ cup of dark chocolate chips into a microwave-safe bowl. Heat the chocolate in the microwave in short 20-second bursts, stirring well between each round. This keeps the chocolate from burning and helps it melt evenly. Once it’s fully melted and smooth, pour it gently over the peanut butter-covered strawberries. Use the back of a spoon or a spatula to spread the chocolate evenly over the entire surface. Don’t worry if it doesn’t look perfect it’ll set beautifully in the freezer.
5. Sprinkle & Freeze
This part is optional but so worth it sprinkle a bit of flaky salt over the top for that perfect salty-sweet contrast. Once everything is layered and ready, carefully place the tray in the freezer. Let it freeze for at least 2 hours, or until the bark is completely solid. You’ll know it’s ready when the chocolate is firm to the touch and doesn’t smudge.
6. Slice & Enjoy
After freezing, remove the tray from the freezer and lift the bark off the parchment paper. Use a sharp knife to cut it into slices or jagged bark-style pieces. You can go for big chunks or small bites whatever you prefer! Store any leftovers in an airtight container in the freezer so they stay fresh and crisp. Just pull out a piece whenever you need a quick, satisfying treat.
Necessary Tools
- Cutting board & knife
- Parchment paper
- Baking sheet
- Small bowl (for melting chocolate)
- Spoon or spatula
- Freezer
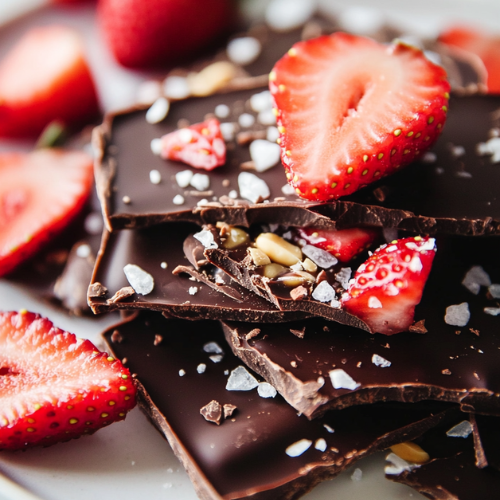
Strawberry Peanut Butter Chocolate Bark
Cuisine: AmericanDifficulty: EasyServings
8
servingsPrep time
10
minutesCooking timeminutes
Total time
10
minutesIngredients
1 pack of fresh strawberries
Creamy peanut butter (enough to spread)
½ cup dark chocolate chips
Flaky salt (optional, but highly recommended!)
Directions
- Wash & Slice Start by washing your strawberries really well. Then slice them into thin pieces think coin-sized.
- Line It Up: Grab a baking sheet and cover it with parchment paper. Lay out the strawberry slices in a flat layer, kind of like a strawberry puzzle.
- Peanut Butter Layer: Use a spoon to gently spread a layer of creamy peanut butter right over the strawberries. Don’t worry if it’s not perfect just have fun with it!
- Melt & Pou:r Toss your dark chocolate chips into a small bowl and microwave them in 20-second bursts, stirring each time until smooth. Pour the melted chocolate right over the peanut butter layer and spread it out gently.
- Sprinkle & Freez:e Add a little flaky salt on top if you like that salty-sweet combo. Then pop the tray in the freezer for about 2 hours or until the bark is totally solid.
- Slice & Enjo.y Once frozen, take it out and slice it into bark pieces. Store any leftovers in a container in the freezer they make an awesome grab-and-go treat!
Notes
- Slice evenly. Try to keep your strawberry slices the same thickness so the bark freezes evenly.
- Dry strawberries. Make sure the strawberries aren’t wet after washing, or the peanut butter won’t stick well.
- Work fast. Once you spread the peanut butter, don’t wait too long before adding the melted chocolate. Otherwise, the peanut butter may start sliding off.
- Watch the chocolate. Don’t overheat the chocolate chips. Stir often while melting so it stays smooth and glossy, not clumpy.
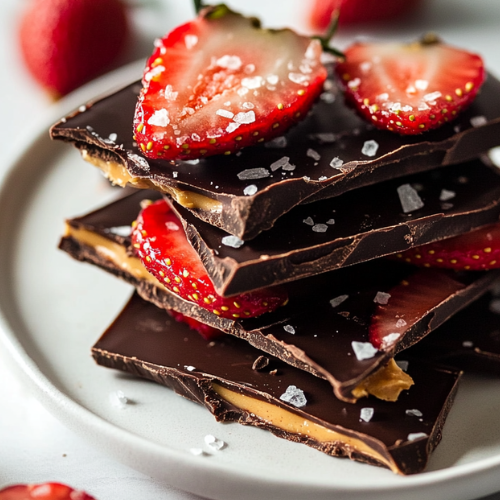
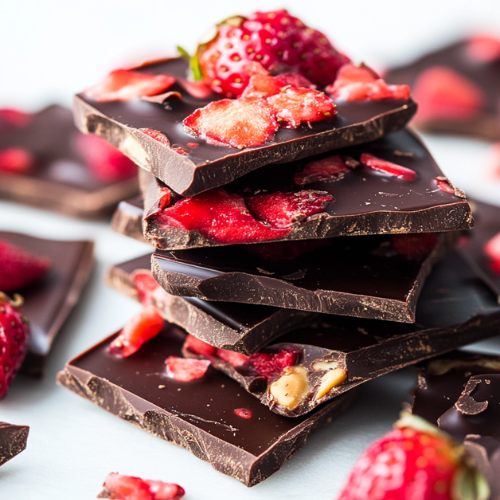
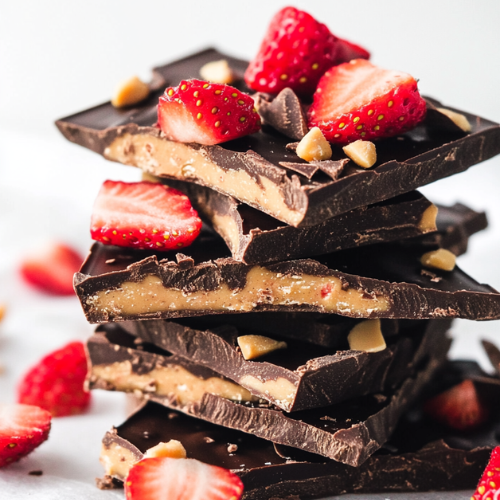
Serving Suggestions
- Serve with a cup of iced coffee or herbal tea for a light afternoon treat.
- Pair it with a small bowl of Greek yogurt for a fun, protein-boosted dessert.
- Break it into small bits and sprinkle on top of vanilla ice cream or oats!
Fun Fact
Did you know strawberries are technically not berries, but bananas are? Wild, right? Also, strawberries and chocolate have been paired together for centuries talk about a classic power couple.
Conclusion
This Strawberry Peanut Butter Chocolate Bark is one of those recipes that looks fancy but takes barely any time to make. It’s sweet, satisfying, and made with whole ingredients you probably already have. I love how it’s freezer-friendly and perfect for sharing (or not… no judgment!). Try it once and you’ll see why this treat went viral because honestly, it deserves all the love!